Angular Signals vs React useState: Explained with Examples
Introduction
Signals in Angular are used to allow the framework to optimize rendering. Improve performance, providing a clear way to manage application state , enhancing the developer’s experience. The set, update, computed and effect are the main benefits of using signals. The main job is to get when the signal value changes, and then write any code in response to it. In ReactJS, useState, useMemo and useEffect can be used to achieve the same and manage states, derived data and side effects. This handles state changes in a declarative, predictive and performance efficient way.
Prerequisites
Before we begin, ensure Node.js and Angular cli is installed.
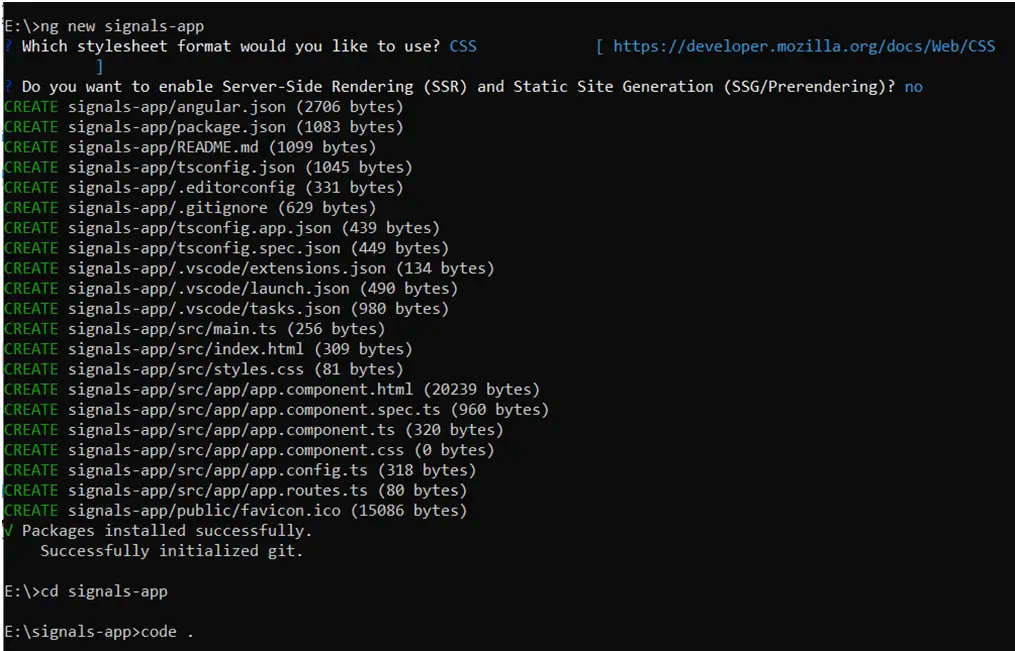
Step 1: Create a new angular application
Run the following command to generate a new Angular app:
ng new signals-app
cd signals-app
Note: During setup, choose the default configuration (no routing, CSS for styling, unless otherwise needed).
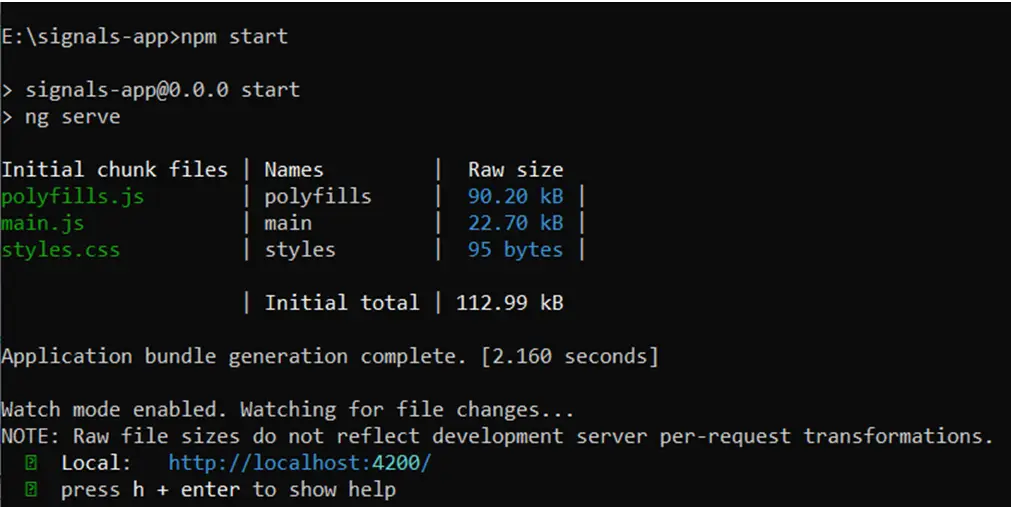
After creation serve the project using command
npm start or ng serve
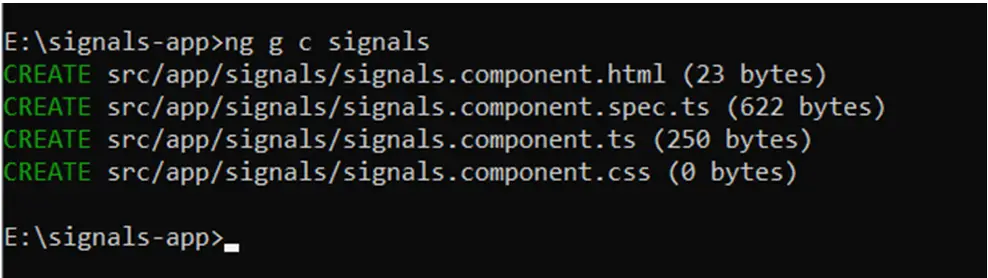
Step 2: Generate Component
Use Angular CLI commands to scaffold the necessary components. Open a terminal in your project directory and run the following:
Run ‘ng g c signals’
The demonstration of signals will be created using an example.
Step 3: Remove the Default App Content
By default, Angular includes sample HTML in the AppComponent. Remove that and add the signal component’s app selector.
- Open app.component.ts.
- Replace the existing template code with the following:
<app-signals></app-signals>
This enables the signals component to be shown.
Step 4: Add Bootstrap CDN Links
Add Bootstrap v5.3 using CDN links add these tags to attach css and javascript bundle files, and a link for Bootstrap Icons in index.html.
<!doctype html>
<html lang="en">
<head>
  <meta charset="utf-8">
  <title>SignalsApp</title>
  <base href="/">
  <meta name="viewport" content="width=device-width, initial-scale=1">
  <link rel="icon" type="image/x-icon" href="favicon.ico">
  <link href="https://cdn.jsdelivr.net/npm/bootstrap@5.3.7/dist/css/bootstrap.min.css" rel="stylesheet" integrity="sha384-LN+7fdVzj6u52u30Kp6M/trliBMCMKTyK833zpbD+pXdCLuTusPj697FH4R/5mcr" crossorigin="anonymous">
  <link rel="stylesheet" href="https://cdn.jsdelivr.net/npm/bootstrap-icons@1.13.1/font/bootstrap-icons.min.css">
</head>
<body>
  <app-root></app-root>
  <script src="https://cdn.jsdelivr.net/npm/bootstrap@5.3.7/dist/js/bootstrap.bundle.min.js" integrity="sha384-ndDqU0Gzau9qJ1lfW4pNLlhNTkCfHzAVBReH9diLvGRem5+R9g2FzA8ZGN954O5Q" crossorigin="anonymous"></script>
</body>
</html>
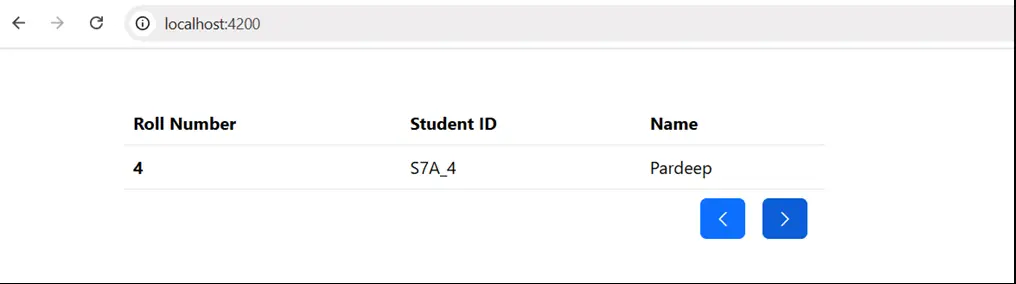
Step 5: Creating design
Let’s create a table in the signals.component.html file to create a design. Add the previous and next button to show the data of students. Create three columns in the table to display, roll number, student Id and name.
<div class="py-5">
    <div class="container">
        <table class="table w-50">
            <thead>
                <tr>
                    <th scope="col">Roll Number</th>
                    <th scope="col">Student ID</th>
                    <th scope="col">Name</th>
                </tr>
            </thead>
            <tbody>
                <tr>
                    <th scope="row">1</th>
                    <td>S7A_1</td>
                    <td>StudentName</td>
                </tr>
            </tbody>
            <tfoot>
                <tr>
                    <td colspan="3" class="text-end border-0">
                        <button class="btn btn-primary mx-2"><i class="bi bi-chevron-left"></i></button>
                        <button class="btn btn-primary mx-2"><i class="bi bi-chevron-right"></i></button>
                    </td>
                </tr>
            </tfoot>
        </table>
    </div>
</div>
This will show the layout component as shown below.
Step 6: Set, Update, Computed and Effect in Angular
Signal can be used like a function and set() is used to set a new value to signal and update() is used to update the value of signal. Angular re-renders the UI Portion on update that depends on it.
Here by creating an example of showing student data on previous and next buttons. First of all, an array of student names is created, and a signal is created initialized with 0 value for index of array and is interpolated and incremented by one in the first column using function call.
A function change is created by sending operation as parameter for previous and next button, in which depending upon the operation, incrementing and decrementing the value of signal using update function. Also, if the value of count signal is 9 and on click of next button which is the maximum index for array then it is set to 0 and if the value of count is 0 and on click of previous button then it is set to 9.
By using the computed method, student Id is returned and interpolated in the second column and array element from students as the computed signal automatically recalculates whenever the value of its dependent changes when necessary.
The effect method used in the constructor to detect the change in count signal. It runs a function when listed dependencies change.
Modifications in signals.component.html
<tbody>
     <tr>
          <th scope="row">{{count()+1}}</th>
          <td>{{idOnCount()}}</td
          <td>{{students[count()]}}</td>
     </tr>
</tbody>
<tfoot>
     <tr>
          <td colspan="3" class="text-end border-0">
               <button (click)="change('prev')" class="btn btn-primary mx-2"><i class="bi bi-chevron-left"></i></button>
               <button (click)="change('next')" class="btn btn-primary mx-2"><i class="bi bi-chevron-right"></i></button>
          </td>
     </tr>
</tfoot>
Additions in signals.component.ts
Add this code to SignalsComponent Class.
students:any[]=[
    "Sidhant",
    "Rishi",
    "Sumilan",
    "Pardeep",
    "Parveen",
    "Ricky",
    "Seema",
    "Subha",
    "Ridhi",
    "Rekha"
  ]
  count = signal<number>(0)
  idOnCount = computed(()=>{return `S7A_${this.count()+1}`})
  constructor(){
    effect(()=>{
      console.log("The count value changed:", this.count());
    })
  }
  change(operation:any){
    if(operation=='prev'){
       this.count() == 0 ? this.count.set(9) : this.count.update(val => val - 1)
    }
    else{
      this.count() == 9 ? this.count.set(0) : this.count.update(val => val + 1)
    }
  }
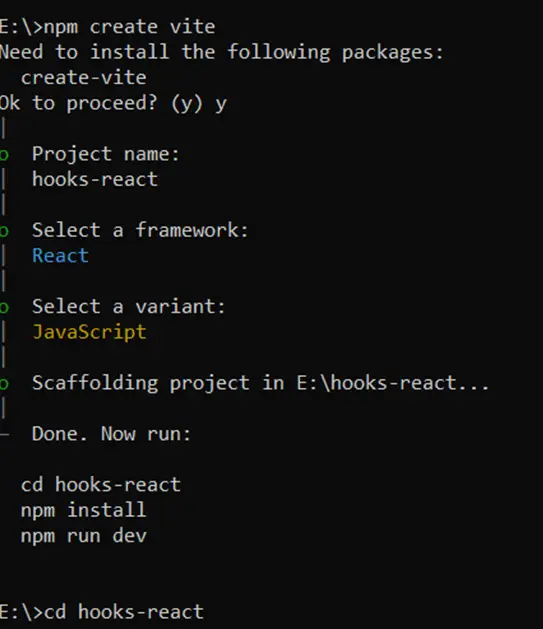
Step 7: Setup of React Project
Create a new react app to implement the same as Signals in Angular. Using Vite create a new react app by command
Run ‘npm create vite’
After running this command choose yes to proceed, add project name, select framework as React, variant as Javascript and run the commands provided after it.
Run the commands to proceed further
Run ‘cd hooks-react’
Run ‘npm install’
Run ‘npm run dev’
Remove the styling from index.css and App.css to apply new styling. Also remove the default design from App.jsx.
Step 8: Add Bootstrap CDN Links
Add Bootstrap v5.3 using CDN links add these tags to attach css and javascript bundle files, and a link for Bootstrap Icons in index.html.
<!doctype html>
<html lang="en">
  <head>
    <meta charset="UTF-8" />
    <link rel="icon" type="image/svg+xml" href="/vite.svg" />
    <meta name="viewport" content="width=device-width, initial-scale=1.0" />
    <title>Vite + React</title>
    <link href="https://cdn.jsdelivr.net/npm/bootstrap@5.3.7/dist/css/bootstrap.min.css" rel="stylesheet" integrity="sha384-LN+7fdVzj6u52u30Kp6M/trliBMCMKTyK833zpbD+pXdCLuTusPj697FH4R/5mcr" crossorigin="anonymous">
    <link rel="stylesheet" href="https://cdn.jsdelivr.net/npm/bootstrap-icons@1.13.1/font/bootstrap-icons.min.css">
  </head>
  <body>
    <div id="root"></div>
    <script type="module" src="/src/main.jsx"></script>
    <script src="https://cdn.jsdelivr.net/npm/bootstrap@5.3.7/dist/js/bootstrap.bundle.min.js" integrity="sha384-ndDqU0Gzau9qJ1lfW4pNLlhNTkCfHzAVBReH9diLvGRem5+R9g2FzA8ZGN954O5Q" crossorigin="anonymous"></script>
  </body>
</html>
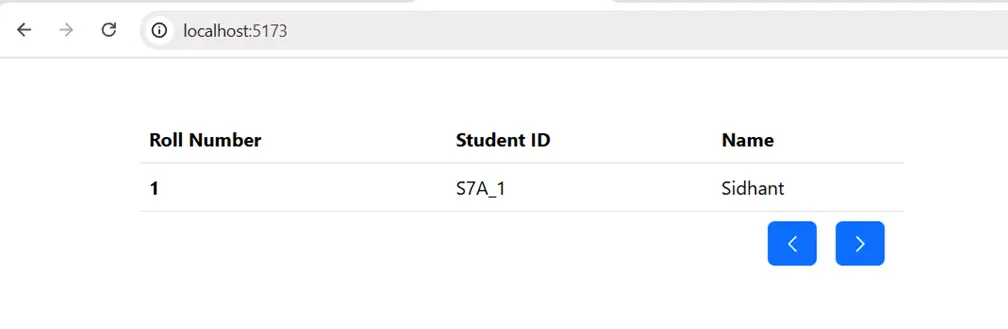
Step 9: Create new component and add design
Create a new file named state.jsx in the src folder and a functional component in it. Add the design of a table with a row and previous and next buttons.
function State() {
    return (
        <div className="py-5">
            <div className="container">
                <table className="table w-50">
                    <thead>
                        <tr>
                            <th scope="col">Roll Number</th>
                            <th scope="col">Student ID</th>
                            <th scope="col">Name</th>
                        </tr>
                    </thead>
                    <tbody>
                        <tr>
                            <th scope="row">1</th>
                            <td>S7A_1</td>
                            <td>Student Name</td>
                        </tr>
                    </tbody>
                    <tfoot>
                        <tr>
                            <td colSpan="3" className="text-end border-0">
                                <button className="btn btn-primary mx-2">
                                    <i className="bi bi-chevron-left"></i>
                                </button>
                                <button className="btn btn-primary mx-2"><i className="bi bi-chevron-right"></i>
                                </button>
                            </td>
                        </tr>
                    </tfoot>
                </table>
            </div >
        </div>
    )
}
export default State;
The view of design looks like
Step 10: Add useState, useMemo, and useEffect
To make the previous and next buttons work and to show information from the array in ReactJS, these lifecycle hooks are used.
The useState hook helps in managing local state in functional components. And on change of state, the component re-renders entirely. A state named count is created for array students index number, and is incremented and decremented the same way.
For Student Id, using useMemo hook that returns a memoized value that is recalculated only when one of the dependencies changes, mentioned in array.
useEffect runs a function when listed dependencies change.
Modification in state.jsx
import { useEffect, useMemo, useState } from "react";
function State() {
    const [count, setCount] = useState(0);
    const idOnCount = useMemo(()=>`S7A_${count+1}`,[count])
    const students =[
            "Sidhant",
            "Rishi",
            "Sumilan",
            "Pardeep",
            "Parveen",
            "Ricky",
            "Seema",
            "Subha",
            "Ridhi",
            "Rekha"
        ]
    useEffect(()=>{
        console.log("The count value changed:", count);
    },[count])
    function change(operation) {
        if(operation=='prev'){
            count == 0 ? setCount(9) : setCount(count - 1)
        }
        else{
            count == 9 ? setCount(0) : setCount(count + 1)
        }
    }
    return (

        <div className="py-5">
            <div className="container">
                <table className="table w-50">
                    <thead>
                        <tr>
                            <th scope="col">Roll Number</th>
                            <th scope="col">Student ID</th>
                            <th scope="col">Name</th>
                        </tr>
                    </thead>
                    <tbody>
                        <tr>
                            <th scope="row">{count + 1}</th>
                            <td>{idOnCount}</td>
                            <td>{students[count]}</td>
                        </tr>
                    </tbody>
                    <tfoot>
                        <tr>
                            <td colSpan="3" className="text-end border-0">
                                <button onClick={() => change('prev')} className="btn btn-primary mx-2">
                                    <i className="bi bi-chevron-left"></i>
                                </button>
                                <button onClick={() => change('next')} className="btn btn-primary mx-2"><i className="bi bi-chevron-right"></i>
                                </button>
                            </td>
                        </tr>
                    </tfoot>
                </table>
            </div >
        </div>
    )
}
export default State;
Conclusion :
The major goal of signals is to give in new and easy reactive primitives used to create applications in reactive style, introduced in Angular v17. It allows the framework to optimize change detection and update the necessary parts. To Enable fine-grained updates to the DOM which are not possible with current change detection. The signal method creates a signal that encapsulates a value. The computed method creates a readonly signal whose value is derived from other signals. The effect method allows side effects to be performed on signal change.